
Setup and use
Follow these five steps for a smooth, bubble-free result.
Step 1
Surface preparation
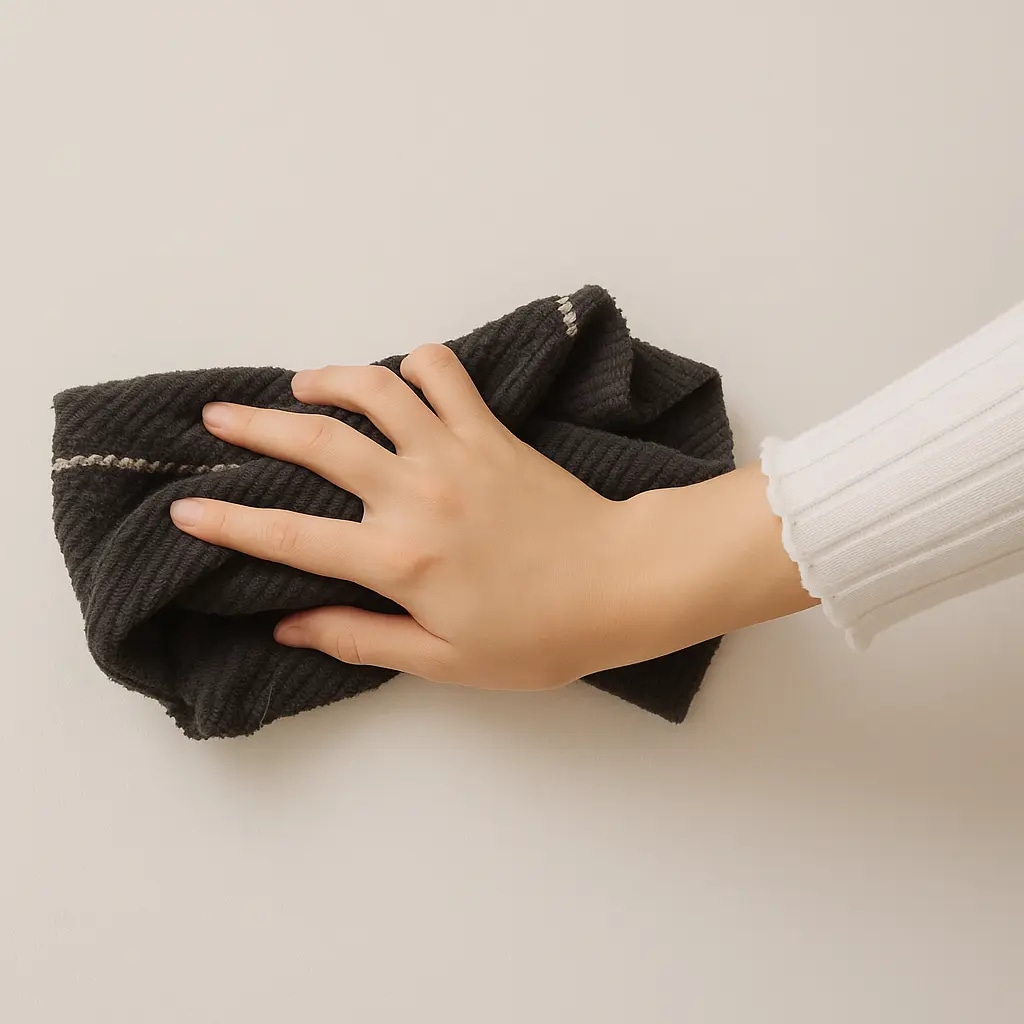
Make sure the surface you are going to stick the magnetic board to is clean, dry and smooth. Remove any dust, dirt or debris that could prevent the sticker from sticking well.
Step 2
Magnetic board preparation
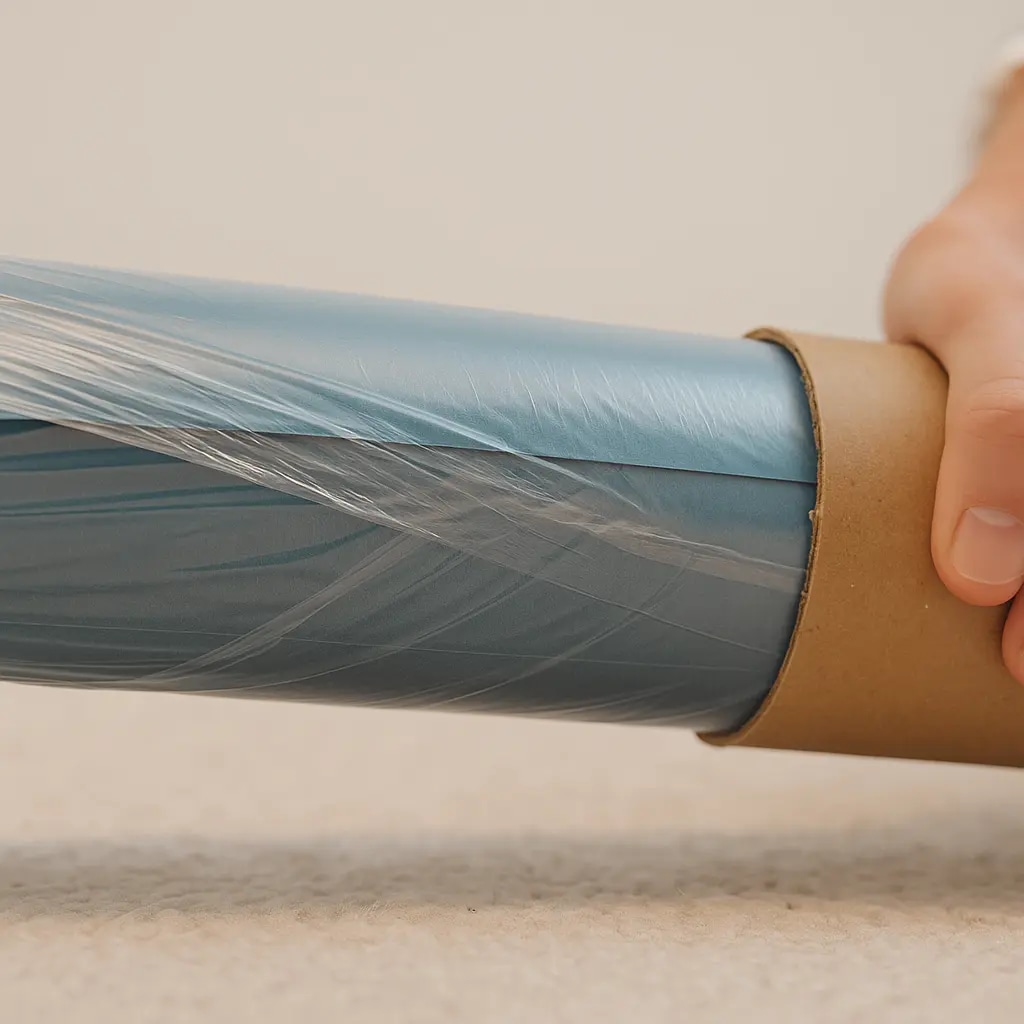
Carefully remove the magnetic board from its packaging and place it on a flat surface. Weight down the corners with heavier objects to flatten the sticker. Leave it to lie flat for a few hours.
Step 3
Application
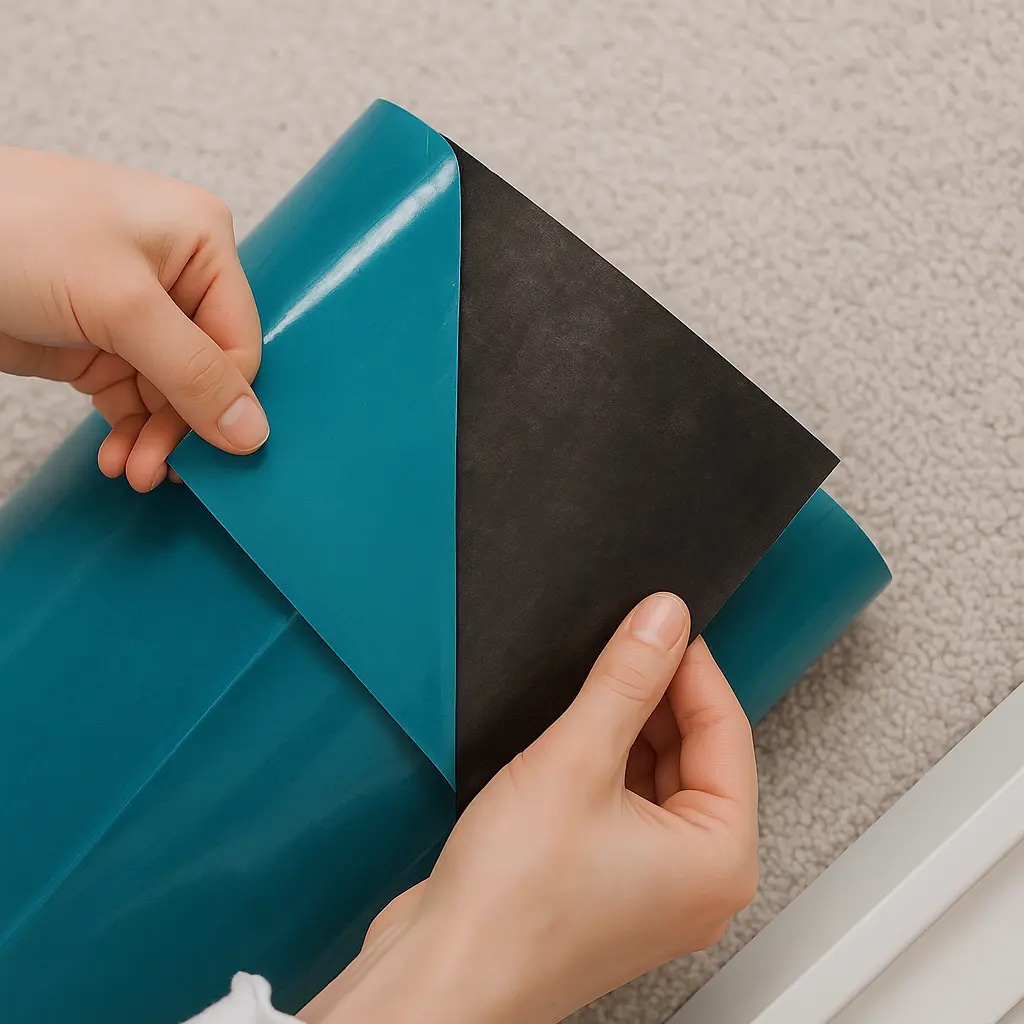
Start by removing the protective layer from one corner (approximately 12 cm). Carefully position the magnetic board in the desired location.
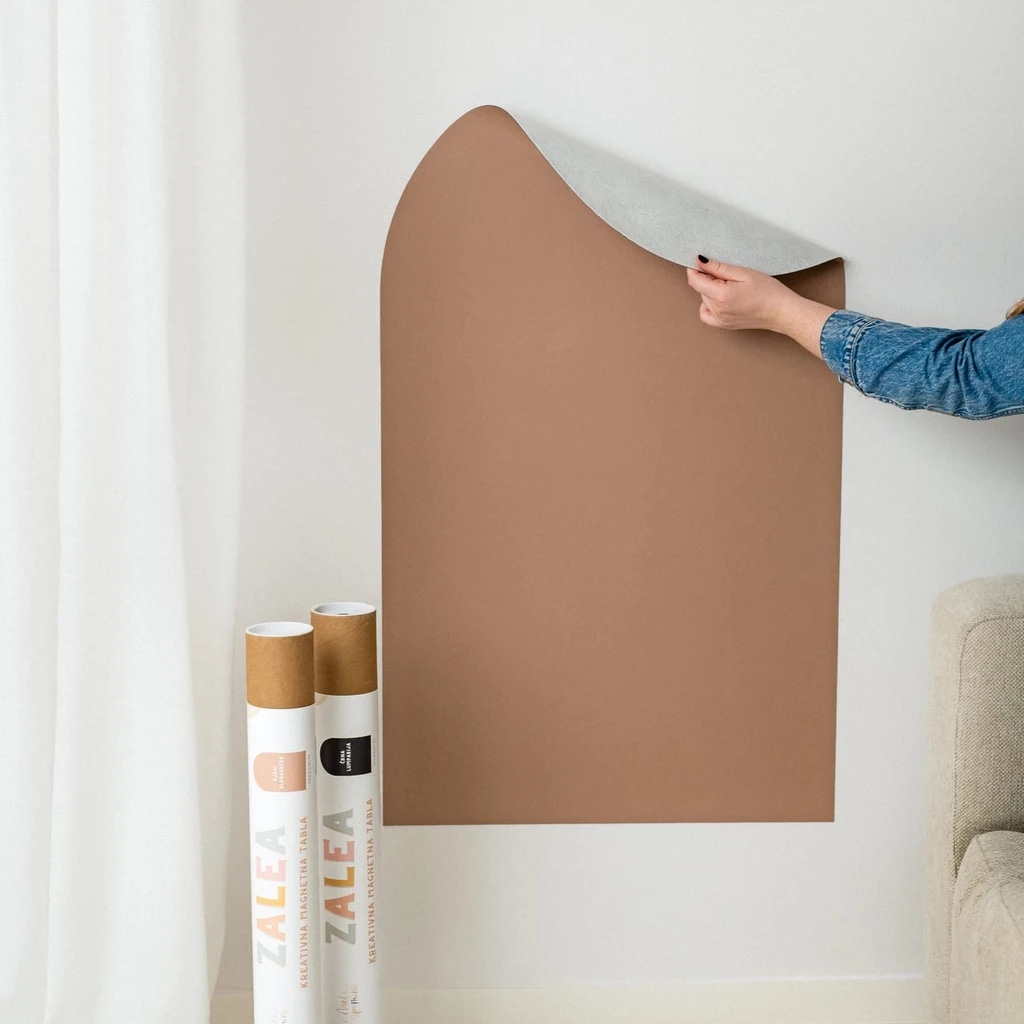
Step 4
Stick and press
Once the magnetic board is in place, press it onto the surface and gently smooth it to remove any air bubbles. Continue smoothing if necessary to achieve perfect adhesion.
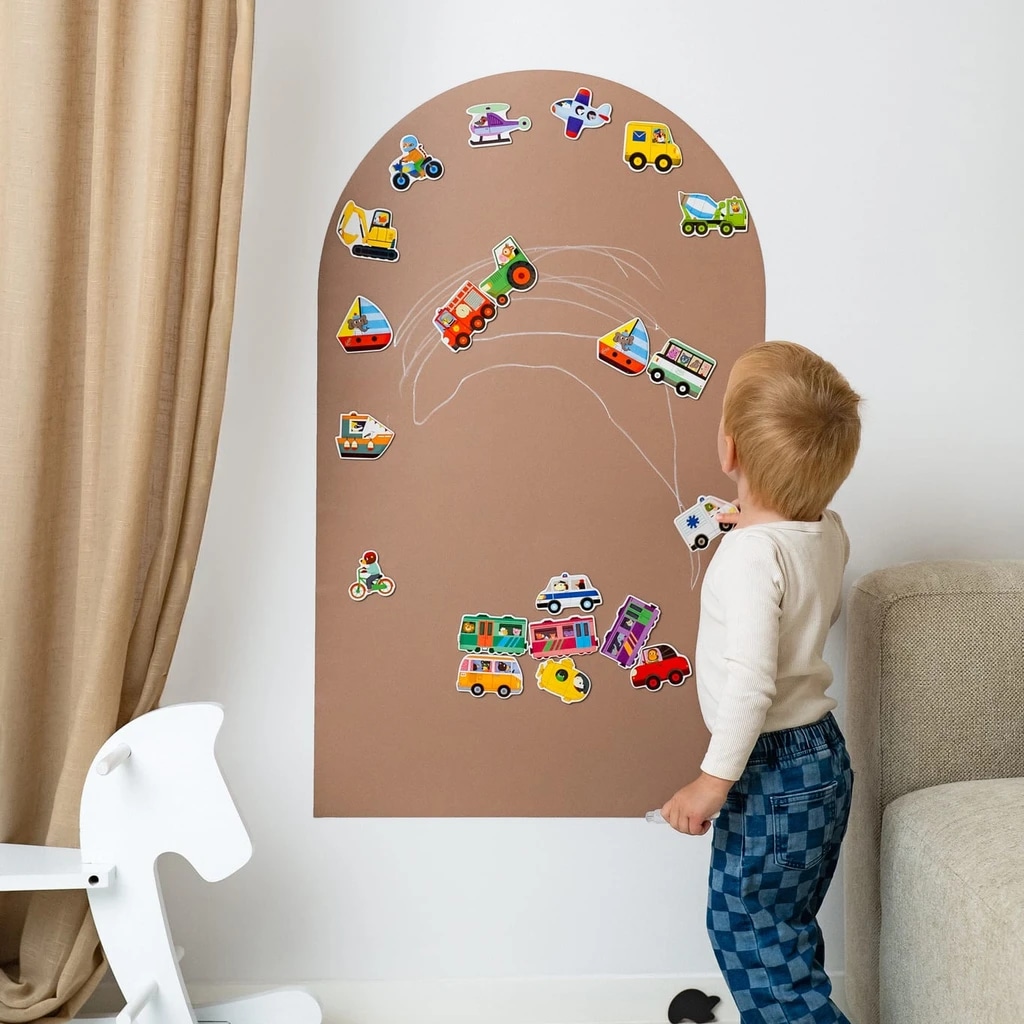
Step 5
Finishing
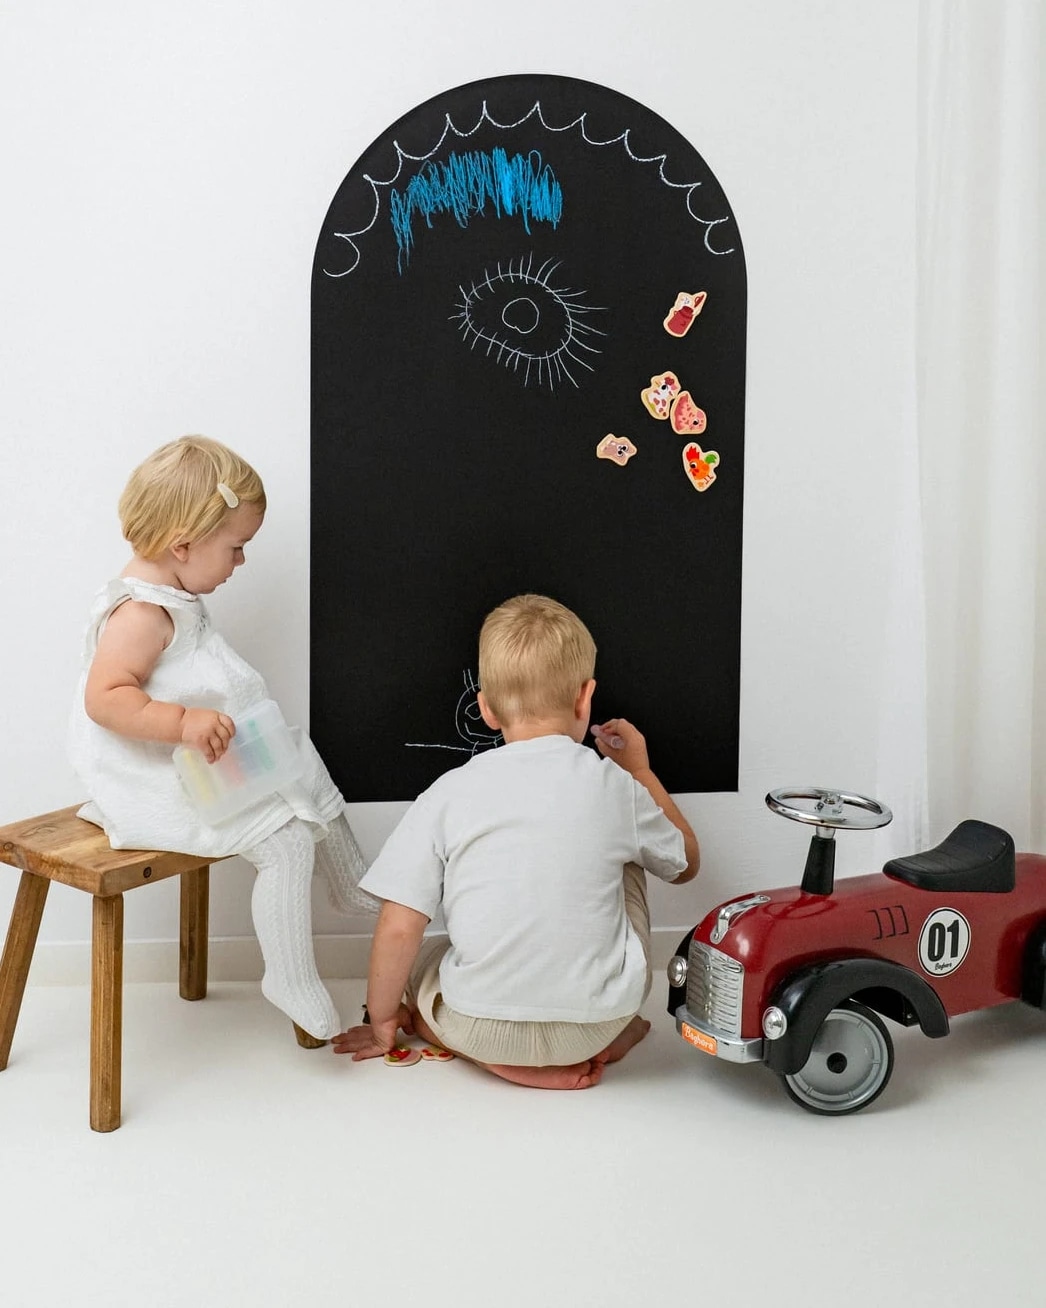
After installation, you can start using various accessories such as dry erase markers, liquid chalk markers and magnets. For cleaning, use a damp cloth or wet wipes.
Sticker Removal
To remove the creative magnetic board, carefully and slowly peel the product from the surface, starting at a 45-degree angle. For safer removal, you can use a hair dryer to gently heat the edges with warm air and then very slowly peel them off at the same angle. Avoid sudden movements.
If any adhesive residue remains, gently wipe with a warm, damp cloth.
The creative magnetic board is compatible with
- Lighter magnets and magnetic toys
- Chalks
- Whiteboard markers / dry-erase markers
- Washable markers, watercolors, and crayons
The multipurpose creative magnetic board is packaged in a protective tube along with installation instructions.
Accessories are NOT included and must be purchased separately.
Magnetic accessoriesUsage and Installation
- The creative magnetic board is designed for indoor use and works best on clean, smooth surfaces such as painted walls, glass surfaces, and doors.
- The product is not intended for removal and reapplication as this can weaken the adhesive. Think of it as a "permanent" piece of wall decoration (similar to wallpaper) - one that will grow and evolve with your child!
- To ensure that the creative magnetic board stays securely attached to the wall and is protected from curious little hands that might peel the edges, it has extremely strong adhesive. Because of this, it may not be suitable for sensitive surfaces or finishes and may cause damage when removed.
- We cannot guarantee that the product will adhere to all surfaces. Some paints (e.g., stain-resistant or air-purifying paints) and textured walls can create a barrier between the sticker and the substrate, which can cause peeling. If you have newly painted walls, wait at least 30 days before installation.
If you're unsure whether the board is compatible with your wall, contact us for assistance.
Before applying the creative magnetic board, ensure that the surface is prepared for application. The wall must be clean, in good condition, and completely dry.
Cleaning Instructions
Gently wipe the creative magnetic board with a damp cloth or disposable baby wipes. For more stubborn stains, you can use a dry erase cleaner.
Magnetic Properties
Note on magnetic functionality: the creative magnetic board is suitable for lightweight magnets. Please note that it does not have the same magnetic strength as a refrigerator, so not all heavier or larger magnets will stay attached. Some brands of magnetic tiles stick well, while others are not strong enough to hold. For best results, use lighter magnets!